Kategori: Voice & Speech Tools

Bubixo ses ve konuşma araçları üzerine rehberler.

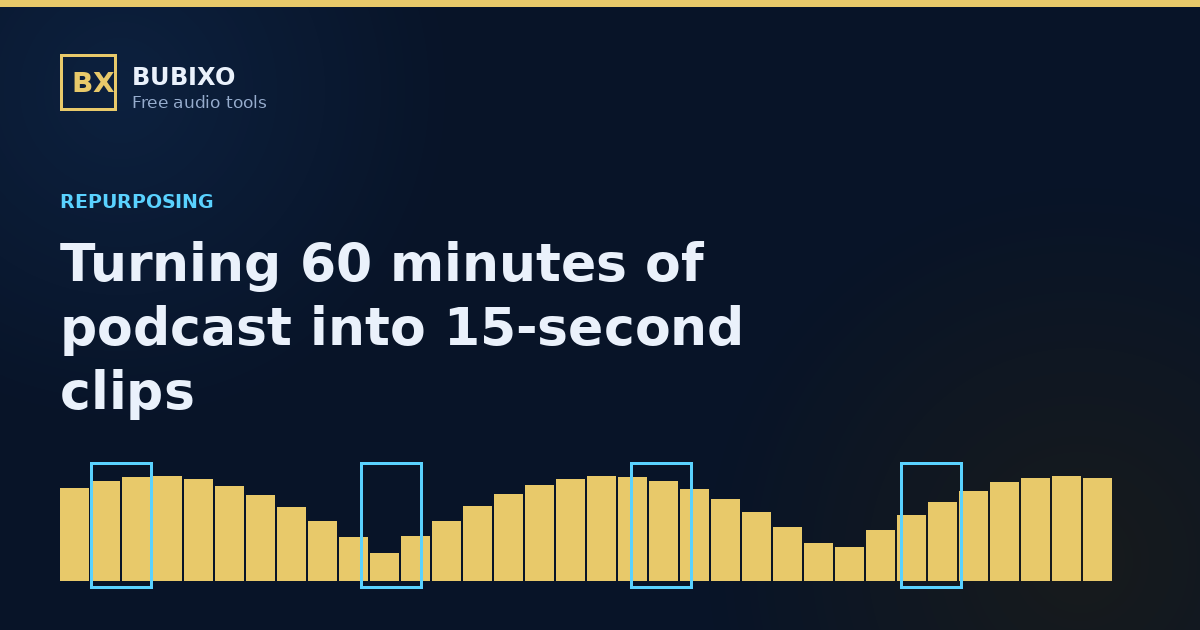
  • From 60 Minutes to 15 Seconds: Automatic Clip Cutting for Podcasts

    From 60 Minutes to 15 Seconds: Automatic Clip Cutting for Podcasts

    Everyone with a podcast has been told to cut it into short vertical clips. The advice is
    sound and the work is miserable: scrubbing a sixty-minute timeline looking for thirty good
    seconds is an afternoon nobody has.

    Automation cannot do the whole job, but it can do the tedious half.

    What a machine can actually detect

    Without understanding the words, the one signal a machine can read reliably is
    energy — how loud each moment is relative to the rest.

    That turns out to correlate with interesting moments more often than you would expect.
    People get louder when they laugh, when they interrupt, when they emphasise, when they get
    annoyed, and when they finally say the thing they have been circling for ten minutes. Energy
    finds all of those.

    It also finds coughs, microphone bumps and someone knocking a mug over. Which is the point
    of the caveat further down.

    How the moments get picked

    The recording is measured one second at a time, so every moment has its own level rather
    than one average for the whole file. That distinction matters more than it sounds: a summary
    figure for a sixty-minute episode tells you nothing about where anything happened.

    From there:

    • The loudest moments are taken in order.
    • A minimum gap is enforced so two clips never cover the same passage. Without it, one
      animated thirty-second exchange produces five nearly identical clips.
    • Each clip is built around its peak with lead-in and follow-through — a few seconds
      before, the rest after — so the listener hears what led up to the moment rather than
      landing in the middle of it.
    • Short fades at both ends stop a clip starting with a click or cutting off mid-word.

    Why fifteen seconds

    Long enough to carry one complete thought, short enough for every vertical video platform,
    and short enough that a viewer will finish it. Every clip being the same length also makes them
    easy to batch: same template, same captions, same publishing routine.

    The honest limitation

    Energy tells you where something happened. It cannot tell you whether it was
    interesting
    . A cough, a laugh at a terrible joke and a genuinely brilliant one-liner look
    identical to a level meter.

    So treat the output as a shortlist, not a publishing queue. Ten candidate clips take seconds
    to produce and about three minutes to listen through. Two or three will be usable. That is a
    good trade against an afternoon of scrubbing — but it is a shortlist, and the listening
    step is not optional.

    A related honesty point about sensitivity controls: on a lively episode with plenty of loud
    moments, a strict setting and a loose one pick the same top ten, because the loudest moments are
    the loudest either way. The control earns its place on quiet or uneven recordings, where a
    strict setting comes back with two clips and a looser one finds eight.

    What to do with the clips

    You get audio, not video — the visual layer is still yours to add. The usual routes:

    • A waveform or static image with burned-in captions, assembled in whatever editor you
      already use.
    • A talking-head crop, if you filmed the session.
    • The timestamps alone, used as a map back into your video project.

    That last one is underrated. Even if you never publish a single audio clip, knowing that the
    five most animated moments of the episode were at 12:04, 19:30, 27:15, 41:52 and 48:07 saves
    the entire search.

    Where it fits in the routine

    Publish the episode first, then mine it. Clean up any steady background noise, master the
    audio to a consistent loudness, publish, then run the finished file through clip cutting and
    work from the shortlist. The clips inherit whatever quality the master has, so doing it in that
    order means you are not cutting up a noisy file.

    Back catalogues are where this pays off most. Fifty old episodes nobody has time to mine
    become fifty shortlists, and the good moments in them are just as good as they were the week
    they went out.

    Try it yourself. The tool is free, needs no account and deletes your file afterwards.
    Cut clips from your episode →

  • Preparing Text Before a Speech Engine Reads It

    Preparing Text Before a Speech Engine Reads It

    Speech engines read ordinary sentences well. They fail on the parts that are not
    sentences: figures, abbreviations, links, addresses. The failures are quiet — nothing
    errors, you just get a file with a wrong word in the middle of it — and you only find
    them by listening to the whole thing.

    Ten minutes of preparation removes almost all of them.

    Numbers are the main event

    A bare figure forces the engine to guess how to say it, and the guess depends on
    surrounding context in ways you cannot predict. In our own testing a four-digit number
    followed by a hyphenated word came out as something that was not a number at all.

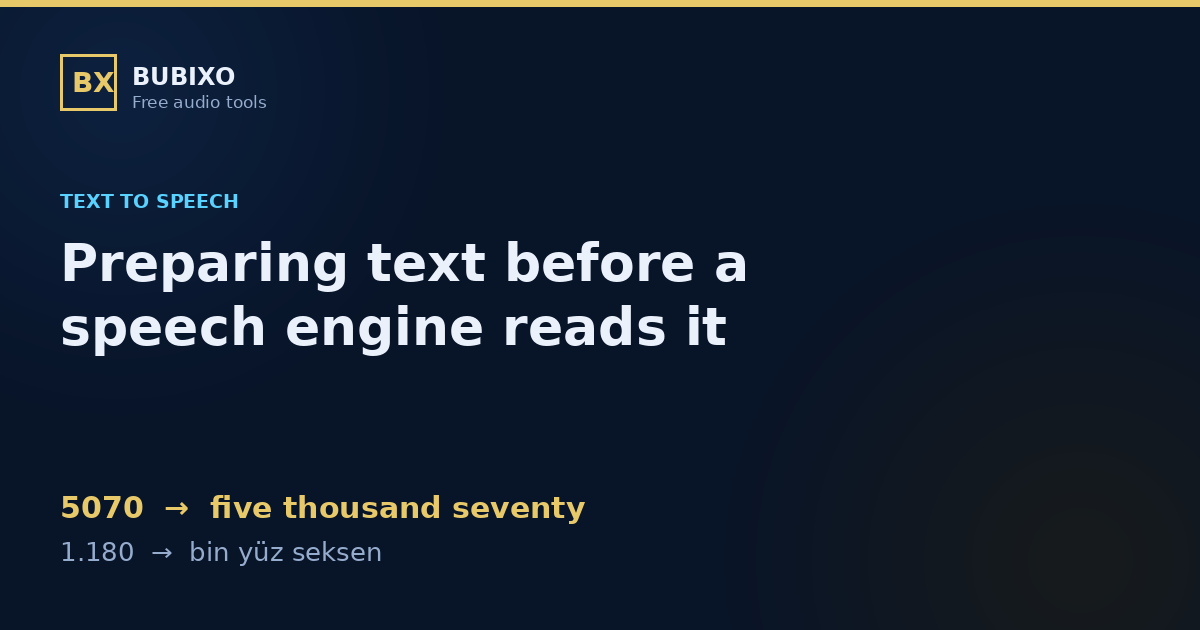
    Writing it out in words removes the guess. 5070 becomes “five thousand
    seventy” and there is nothing left to interpret. This is the single highest-value edit you
    can make to a script.

    Thousands and decimals are language-specific, and they are opposites

    This trips people up constantly, because the two conventions are mirror images:

    • English: 1,180 is one thousand one hundred eighty;
      3.14 is a decimal.
    • Turkish and much of Europe: 1.180 is one thousand one
      hundred eighty; 3,14 is a decimal.

    Read a European price with English rules and a figure meaning three and a bit becomes three
    hundred and fourteen. The two languages also say decimals differently: English reads
    the digits one at a time (“three point one four”), while Turkish reads the fraction as a whole
    number.

    Leave codes alone

    Not every digit should be converted. MP3, H264 and model numbers
    are read correctly as they are, and spelling them out makes things worse. The rule that works:
    convert digits that stand alone, leave digits attached to letters.

    The rest of the checklist

    • URLs and e-mail addresses. Read aloud, they are gibberish, and every
      character is billed. Replace them with a short phrase or remove them.
    • Repeated whitespace and stray line breaks. Harmless to meaning, but they
      count toward your quota and can affect phrasing.
    • Curly quotes and long dashes. Normalise them. Some engines pause oddly
      on typographic punctuation.
    • Bracketed notes and stage directions. If it is not meant to be spoken,
      take it out — it will be spoken.

    Split before you send, not after it fails

    Most engines cap a single request at around 5,000 characters. A long chapter has to be
    split, and where you split matters: break on sentence boundaries, never mid-sentence, or the
    join will be audible.

    Knowing the request count in advance is also how you plan the cost. Speech is billed per
    character, so the character count of your cleaned text is the price. Clean first,
    count second, and you know what an audiobook chapter costs before you commit to it.

    How long will it actually be?

    Words divided by a speaking rate. 180 words per minute is a typical narration pace;
    audiobooks usually run slower, conversational podcasts faster. A 9,000-word chapter is
    roughly 50 minutes at a normal pace — useful to know before you find out the hard way
    that it is too long for one episode.

    Readability, and one caveat

    Readability scores are worth a glance, with a warning: the well-known formulas are
    calibrated per language. Flesch Reading Ease is built on English syllable patterns and returns
    a meaningless figure for an agglutinative language like Turkish, which has its own adaptation
    (the Ateşman index). A tool that applies the English formula to any text is giving you a number
    that looks authoritative and means nothing.

    Why do this in the browser

    Scripts are often unpublished manuscripts, client work or internal documents. Text
    preparation is pure string manipulation — there is no reason for any of it to leave your
    machine. If a tool uploads your draft to a server to count its characters, that is a choice it
    made for its own convenience, not a technical requirement.

    The order that works

    1. Paste the text and look at the character count.
    2. Convert numbers to words in the right language.
    3. Clean URLs, addresses and stray whitespace.
    4. Check the request count and the longest segment.
    5. Send it to synthesis.
    6. Master the result before publishing.

    Steps two and three take a minute and remove the class of error that is hardest to find
    later.

    Try it yourself. The tool is free, needs no account and deletes your file afterwards.

    Open the TTS Text Prep Studio →

  • How to Remove Background Noise From a Podcast Recording

    How to Remove Background Noise From a Podcast Recording

    There is a useful line running through every noise problem: is the noise
    steady or not?

    Steady noise — air conditioning, a fan, a computer, tape hiss, mains hum — has a
    consistent fingerprint. Measure it during a quiet moment and you can subtract it from the whole
    recording. This works well, and it is what noise removal actually is.

    Everything else — a door, a dog, traffic, someone talking over you — is not
    steady. There is no fingerprint to subtract. No filter of this kind removes it, and any tool
    promising otherwise is selling you something.

    Why fixed settings do not work

    Every room is noisy at a different level. A denoiser set to expect noise at one level will
    do almost nothing in a quieter room and destroy the audio in a louder one.

    We measured this directly. With a fixed setting, the noise floor of our test file dropped
    by one to two decibels — effectively nothing. Measuring the file’s actual noise floor
    first and aiming the filter at that produced between 8 and 44 dB of reduction
    depending on the strength chosen. Same filter, same file; the only difference was whether the
    tool looked before it acted.

    So the first question to ask any noise remover is: does it measure my file, or does it apply
    the same setting to everything?

    How much is too much

    Here are real measurements from four strength settings on the same recording:

    • Soft: 8.6 dB of noise removed
    • Normal: 11.8 dB
    • Aggressive: 22.1 dB
    • Brutal: 43.5 dB

    Across all four, the speech level moved by less than one decibel. That is the number to
    watch: if a denoiser is making your voice quieter, it is removing the wrong
    thing.

    More is not automatically better. Very strong subtraction starts to thin out breaths and the
    quiet ends of words, which is how audio gets that hollow, underwater quality. Start in the
    middle, listen to a short preview, and only go further if you can hear that you need to.

    The mistake worth avoiding: normalising afterwards

    It seems obvious — clean the file, then bring it up to publishing loudness in the same
    pass. We measured what that costs and it is worse than it looks.

    Signal-to-noise improved by 11.1 dB with normalisation switched off, and only 2.2 dB with it
    on. Normalising applies gain to everything left in the file, including whatever noise
    survived, and its dynamic stage lifts the quiet passages hardest — which is exactly the
    part you just cleaned.

    The right order is two separate steps: remove the noise, then normalise the cleaned file
    with a proper two-pass loudness tool. Same tools, same effort, dramatically better result.

    Do not forget the low end

    A high-pass filter around 80 Hz costs nothing and removes desk thumps, chair creaks,
    handling noise and mains hum. Almost no speech content lives below 80 Hz, and that rumble
    takes up headroom you would rather spend on the voice. Turn it on unless you have a specific
    reason not to.

    What about gating?

    A gate silences anything below a threshold. Between sentences that sounds wonderfully clean;
    at the end of words it chops the natural tail off consonants and breaths, and the result is
    choppy in a way that is hard to unhear. Leave it off unless you have listened and decided you
    want it.

    Fix it at the source when you can

    Every decibel you do not record is a decibel you never have to remove. Turn the air
    conditioning off during takes. Move the microphone away from the laptop. Get closer to the
    microphone so your voice sits further above the room. Five minutes of setup beats any amount
    of processing.

    When that is not possible — a remote guest with a noisy laptop, an archive recording,
    a room you do not control — measure, remove, then normalise. In that order.

    Try it yourself. The tool is free, needs no account and deletes your file afterwards.

    Clean up your recording →

  • MP3, WAV, M4A, OGG or FLAC: Which One and Why

    MP3, WAV, M4A, OGG or FLAC: Which One and Why

    Five formats cover almost everything you will ever be handed. Knowing what each is for
    takes about five minutes and saves a lot of pointless conversion.

    The only distinction that matters

    Lossless formats keep every sample of the original. WAV stores them
    uncompressed; FLAC compresses them without discarding anything, ending up roughly half the
    size for identical audio.

    Lossy formats throw away detail the ear is least likely to miss, which is
    why they are five to ten times smaller. MP3, M4A and OGG are all lossy.

    Everything else follows from that one line.

    The five, briefly

    MP3

    Plays on absolutely everything, and that universality is the whole reason to choose it.
    192 kbps is the sensible default for speech and music alike. 128 kbps is fine for plain
    narration and noticeably smaller. 320 kbps only helps when the source is already high
    quality — it cannot restore what a bad recording never had.

    WAV

    Uncompressed, lossless, and enormous: roughly 10 MB per minute in stereo. Exactly right
    when a file is going back into an editor for more work. Wrong for sharing, and wrong for
    anything you are emailing.

    M4A

    AAC audio in an MP4 container. Slightly better than MP3 at the same bitrate and the
    default across Apple devices, which is where most voice memos come from. Support is very
    good but not quite MP3-universal.

    OGG

    Vorbis, a genuinely open format with true variable bitrate — it spends bits where the
    audio needs them rather than at a fixed rate. Excellent quality per megabyte. The catch is
    compatibility: plenty of hardware players and upload forms still refuse it.

    FLAC

    Lossless but compressed. About half the size of WAV with bit-identical audio. This is the
    right archive format: keep your masters as FLAC and export lossy copies for publishing.

    The conversion that is always a waste

    Converting a lossy file to a lossless one does not bring back what was discarded. An MP3
    turned into FLAC is a larger file containing exactly the same audio, with the same artefacts,
    now stored inefficiently.

    Convert to lossless only when your source is lossless. If someone sends you an MP3
    and asks for “the WAV”, what they will get is an MP3 in a bigger box.

    Generation loss is real but often overstated

    Every lossy-to-lossy conversion decodes and re-encodes, losing a little more each time. One
    conversion at a sensible bitrate is inaudible on speech. Five conversions at 128 kbps are
    not.

    The rule that avoids the problem: keep the original recording, and convert from it each
    time rather than from an export of an export.

    Mono or stereo?

    For a single narrator or an interview recorded on one microphone, mono halves the file
    with no audible loss — there is no stereo information to preserve. Keep stereo when the
    recording genuinely has left and right content: music, ambience, or hosts recorded on separate
    channels and panned.

    Do your tags survive?

    They should. Title, artist, album and comments carry across all five formats when the
    converter asks for it. One detail catches people out: MP3 tags should be written as ID3v2.3
    rather than the newer 2.4, because a surprising number of older players and car stereos
    cannot read 2.4 and will show your episode as “Unknown”.

    Quick answers

    • Publishing a podcast? MP3 at 192 kbps.
    • Sending audio to an editor? WAV, or FLAC if size matters.
    • Archiving masters? FLAC.
    • An upload form refused your file? MP3 — it is the format nothing
      rejects.
    • Voice memo that will not open on Windows? M4A to MP3.

    And if the file is simply too big rather than the wrong type, the answer is a lower bitrate
    or mono, not a different container.

    Try it yourself. The tool is free, needs no account and deletes your file afterwards.
    Convert your audio →

  • What -16 LUFS Actually Means for Your Podcast

    What -16 LUFS Actually Means for Your Podcast

    A listener switches from someone else’s show to yours and reaches for the volume knob.
    That is not a content problem, it is a loudness problem, and it has a precise fix that takes
    about a minute.

    Loudness is not volume

    Peak level tells you how close the loudest instant comes to distortion. It says nothing
    about how loud something sounds. A recording can peak near the ceiling and still feel
    quiet, if the loud moments are rare and everything between them sits low.

    LUFS measures perceived loudness across the whole programme, weighted roughly the way
    human hearing works. That is why platforms specify LUFS and not peak: it is the number that
    predicts whether a listener will reach for the knob.

    The numbers worth knowing

    • −16 LUFS — the usual target for stereo podcast delivery.
    • −14 LUFS — where YouTube and the music streaming services
      normalise to.
    • True peak — a separate ceiling, typically −1.5 dBTP for
      podcast and −1.0 dBTP elsewhere, that the audio must not exceed after conversion.

    Publish louder than the target and the platform turns you down anyway. Publish quieter and
    some platforms leave you quiet. Hitting the number is the whole job.

    Why true peak sometimes wins

    This is the part most guides skip, and it is the reason a masterer sometimes tells you
    “that is as loud as it goes”.

    Loudness only rises by adding gain, and gain raises the peaks by exactly the same amount.
    If your recording is quiet and spiky — a big dynamic range between the loudest
    consonants and the average level — reaching −14 LUFS can require more gain than
    the peak ceiling allows. Something has to give: either the ceiling breaks and the audio
    distorts, or you stop short of the target.

    Stopping short is the correct answer. A file at −15 LUFS that respects the ceiling
    sounds fine. A file at −14 with clipped peaks sounds broken, and no platform will fix
    it for you.

    Two-pass normalisation, and why one pass is not enough

    A single-pass loudness filter guesses as it goes. On uneven material it drifts, and the
    finished file lands somewhere near the target rather than on it.

    Two-pass measures the whole file first, then applies a correction calculated from those
    measurements. The difference is not academic: on quiet or uneven recordings a single pass can
    miss by several decibels, which is exactly the error you were trying to remove.

    Better still is to measure the result afterwards and correct once more if it
    landed outside tolerance. That is the difference between “we applied a loudness filter” and
    “the file measures −16.1 LUFS”, which is a claim you can check.

    The rest of the mastering chain

    Loudness is one step of four, and the order matters.

    1. High-pass first. Cutting below about 80 Hz removes desk thumps, chair
      creaks and mains hum. Do it before measuring, or that rumble eats headroom you needed.
    2. Trim the silence. Recorders run before you speak and after you stop.
      Cut the dead air at the ends, and leave the pauses inside the conversation alone —
      they are the rhythm of the thing.
    3. Normalise. Measure, then apply.
    4. Fades last. A fade applied before normalisation gets partly undone by
      it. Half a second in and a second out is a sensible default.

    What mastering cannot fix

    It sets the level, tidies the ends and protects the peaks. It does not remove room echo,
    repair clipping already baked into the recording, balance two hosts recorded on separate
    tracks, or make a bad microphone sound good. Mastering is the last step, not a rescue —
    and if the recording has steady background noise, clean that before you normalise,
    not after.

    A workflow that holds up

    Record with headroom, aiming for peaks around −6 dB rather than as loud as possible.
    Edit. Remove steady noise if there is any. Then master: high-pass, trim, normalise to
    −16 LUFS for the podcast feed, fade. If the same audio also goes to YouTube, run it
    again at −14 rather than uploading the podcast master and hoping.

    Check the output number. If a tool cannot tell you what the finished file measures, it is
    asking you to take its word for it.

    Try it yourself. The tool is free, needs no account and deletes your file afterwards.

    Master your episode →